

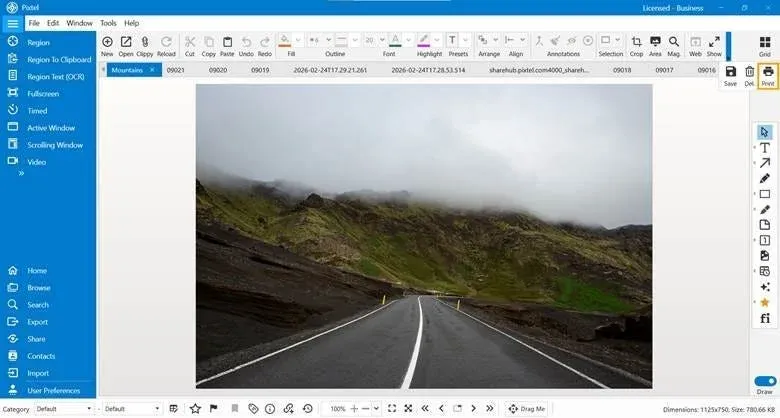
Print Your Screenshots Easily with Pixtel
In our daily work, we capture many screenshots for documentation, reporting, sharing references, and approvals. But sometimes, we need a printed copy for meetings or official records.
With Pixtel, printing screenshots is simple and customizable. You can print a single screenshot or multiple screenshots with full control over layout, scale, margins, headers, and more.
Let’s see how it works.
How to Print a Screenshot?
After capturing your screenshot:
- Select the screenshot you want to print.
- Click on Print from the top menu barorPress Ctrl + P.
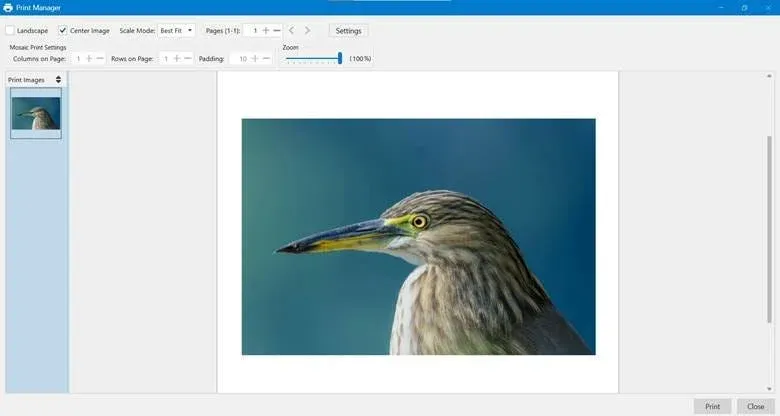
The Print window will open with multiple options to customize your output.
You can set:
- Page orientation (Portrait or Landscape)
- Image alignment (centered on page)
- Scale mode
- Header and footer options
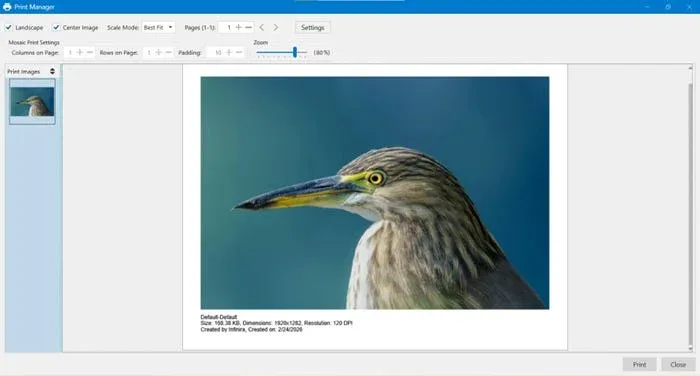
Scale Mode Options
Under Scale Mode, you can control how the image fits on the page.
Available options include:
- Normal — Prints in original size
- Best Fit — Automatically adjusts to fit the page
- Stretch — Expands to fill the entire page
- Fit to Width — Matches page width
- Fit to Height — Matches page height
- Crop to Page Size — Crops extra portions
- Mosaic — Arranges images across multiple pages
These options help you print exactly the way you need.
Printing Multiple Screenshots
If you want to print multiple images:
- Switch to Grid View.
- Select the required screenshots.
- Open them — each image will open in a new Pixtel tab (new page).
This allows you to review them individually.
After that:
- Click Print or
- Press Ctrl + P
You can then adjust layout, scaling, or use Mosaic mode to print multiple screenshots together.
This is useful for reports, documentation, or step-by-step guides.
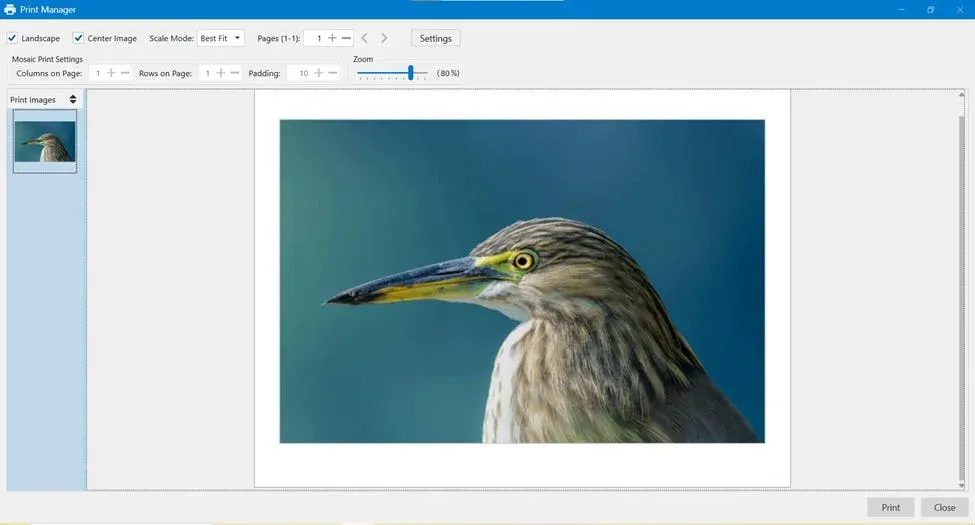
Mosaic Print Settings
When you choose Mosaic Mode, you can customize:
- Number of Columns on Page
- Number of Rows on Page
- Padding between images
- Zoom level
This helps when:
- Printing multiple screenshots on one page
- Printing large images across multiple pages
- Creating structured layouts
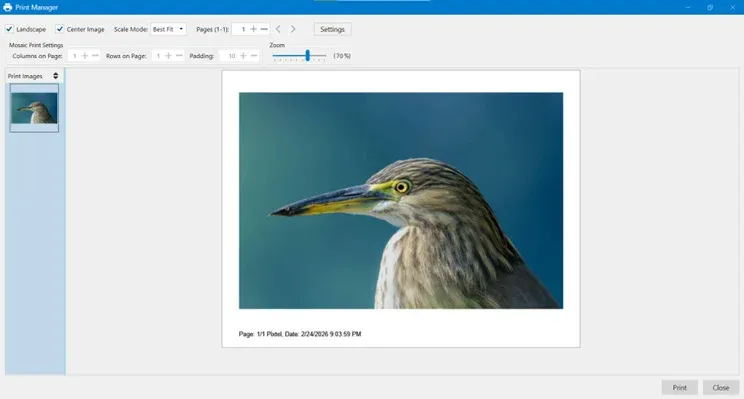
Header and Footer Options
Pixtel provides several options to add structured information to your printouts.
Show Page Header
Displays a header at the top of every printed page.Useful for titles or application details.

Show Page Footer
Displays information at the bottom of each page.Commonly used for page numbers and date.
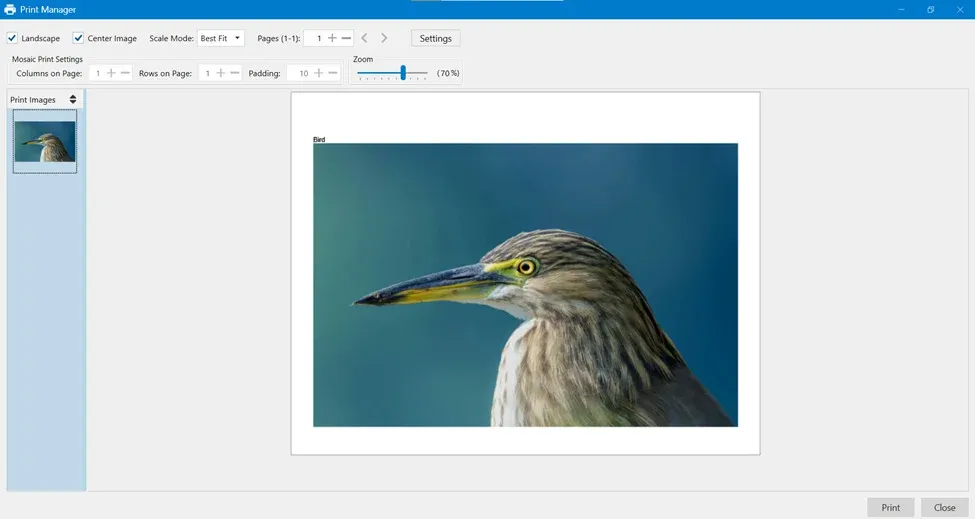
Show Image Header
Adds a header above each screenshot.Helps identify the image name or category.
Show Image Footer
Displays details below each screenshot such as:
- Image size
- Dimensions
- Created date
- Description
Show Image Border
Adds a border around each image to improve clarity and separation.
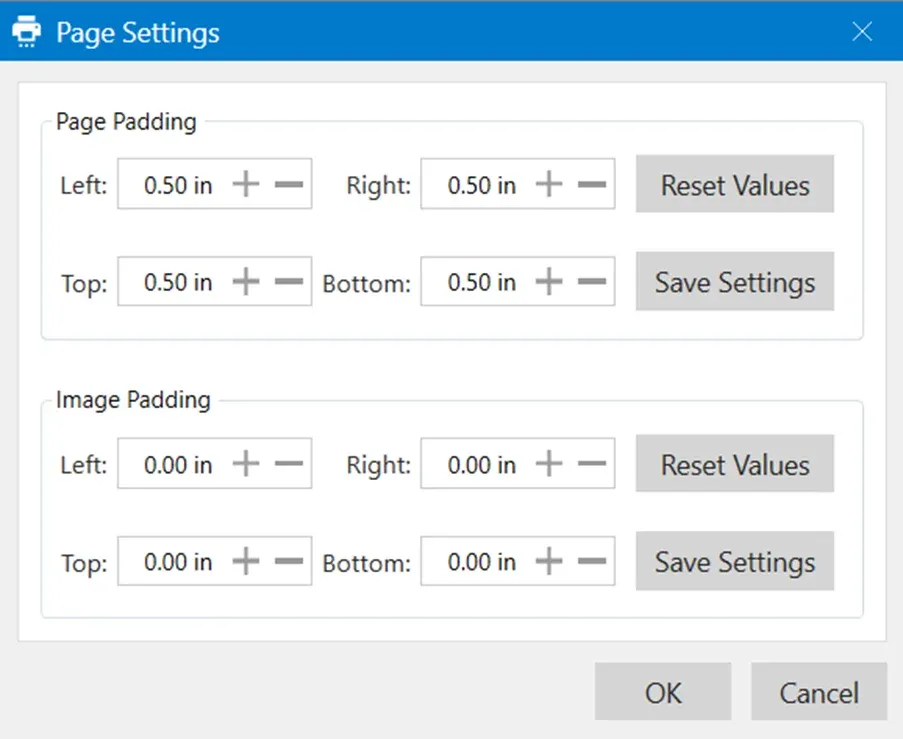
Page Settings
Under Page Settings, you can adjust spacing and margins.
Page Padding
Controls the space between the content and page edges:
- Left
- Right
- Top
- Bottom
This ensures proper margins for professional printing.
Image Padding
Controls the spacing around individual images inside the page layout.
You can:
- Reset values
- Save custom settings
- Click OK to apply changes
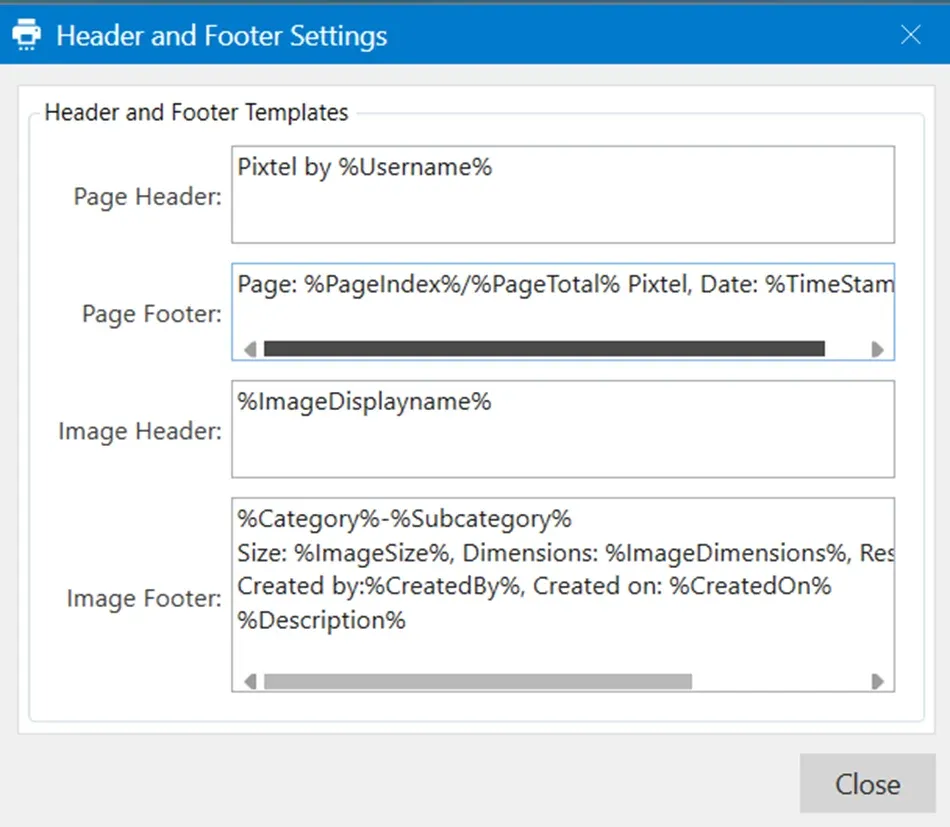
Header & Footer Settings Customization
In Header/Footer Settings, you can customize what appears in headers and footers.
You can edit:
- Page Header
- Page Footer
- Image Header
- Image Footer
Pixtel also supports dynamic placeholders like:
- Username
- Page number
- Total pages
- Timestamp
- Image name
- Image size
- Created date
These values automatically update when printing, making your output more professional.
Final Step
After configuring all settings:
- Click Print to proceed
- Or click Cancel to stop
Printing screenshots with Pixtel is simple, flexible, and professional. Whether you are printing a single image or multiple screenshots, Pixtel gives you full control over layout, scaling, margins, headers, and mosaic settings.
Capture. Customize. Print — all in one place with Pixtel.
Related reading:
- How to Share Captures Effortlessly with Pixtel →
- Export Images and Videos to Standard Folders with One Click →
- Instantly Share Screenshots Without Saving Using Pixtel's Drag Me Option →
Capture once and use it forever. It isn’t just a tool — it’s Pixtel.
👉 Download Pixtel · 🎥 Follow us on YouTube · 📘 Read Detailed Documentation
'%3e%3cpath%20d='M6.49988%200.862305L0.380969%206.98121C-0.127315%207.4895%20-0.127315%208.31107%200.380969%208.81936C0.889253%209.32764%201.71083%209.32764%202.21911%208.81936L5.19992%205.83855V15.7C5.19992%2016.4176%205.781%2017%206.49988%2017C7.21875%2017%207.79984%2016.4176%207.79984%2015.7V5.83855L10.7806%208.81936C11.0341%209.07285%2011.3669%209.20024%2011.6997%209.20024C12.0325%209.20024%2012.3653%209.07285%2012.6188%208.81936C13.1271%208.31107%2013.1271%207.4895%2012.6188%206.98121L6.49988%200.862305Z'%20fill='white'/%3e%3c/g%3e%3cdefs%3e%3cclipPath%20id='clip0_1_2'%3e%3crect%20width='13.0002'%20height='16.8995'%20fill='white'%20transform='translate(-0.000244141%200.100533)'/%3e%3c/clipPath%3e%3c/defs%3e%3c/svg%3e)