

New Image Feature in Pixtel - Create Custom Designs Instantly
New Image Feature in Pixtel — Create Custom Designs Instantly
In our daily workflow, we don’t always work only with captured screenshots. Sometimes we need a blank canvas — to design something new, add annotations, create tutorials, or combine imported images.
That’s exactly why the New Image feature in Pixtel is powerful. It allows you to open a fresh workspace and start creating from scratch.
Let’s explore how you can use it effectively.
What is the New Image Feature?
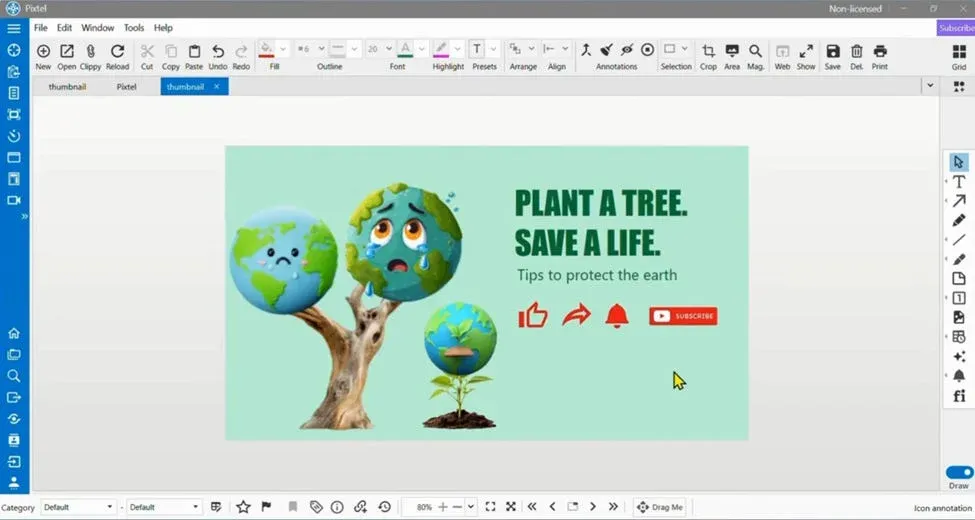
The New Image option in Pixtel lets you create a blank image with customizable dimensions and background settings. You can:
- Add annotations
- Insert shapes and text
- Import other images
- Design banners or tutorials
- Create custom visuals from scratch
It works like opening a new design window inside Pixtel.
How to Open a New Image in Pixtel
You have two simple ways to open it:
✅ Method 1: Keyboard Shortcut
Press Ctrl + N to instantly open the New Image popup.
✅ Method 2: From the Toolbar
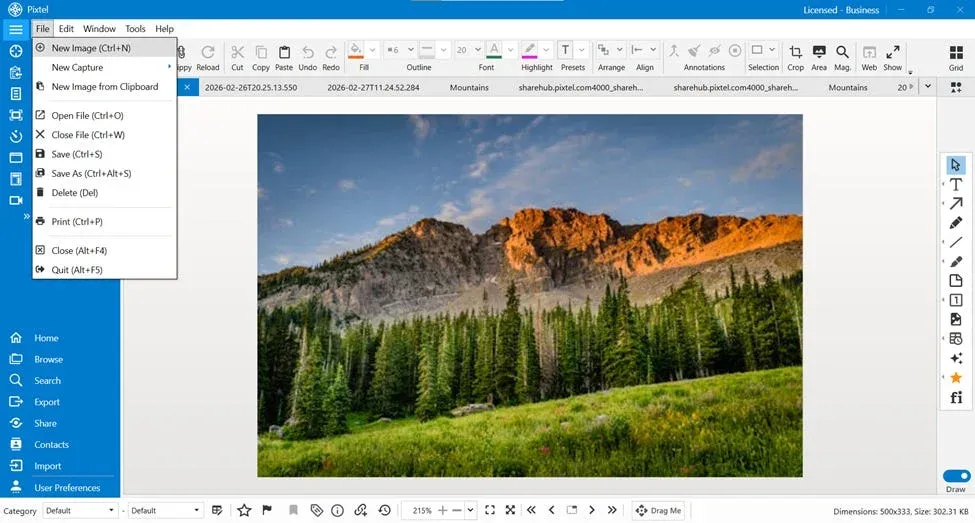
- Click on File in the toolbar
- Select New Image
- A popup window will appear
This popup allows you to configure your image before creating it.
New Image Popup Options Explained
When the popup appears, you’ll see several customization options:
📏 Image Width & Height
You can manually adjust:
- Image Width
- Image Height
This allows you to create square, landscape, or portrait designs based on your needs.
🎨 Background Color
You can choose the background color for your new image.This is useful when designing banners, thumbnails, or presentation graphics.
🖼 Image Format
From the dropdown, you can select:
- JPG
- PNG
Choose the format based on your requirement.
✔ Create or Cancel
- Click Create to generate the new image
- Click Cancel to close the popup
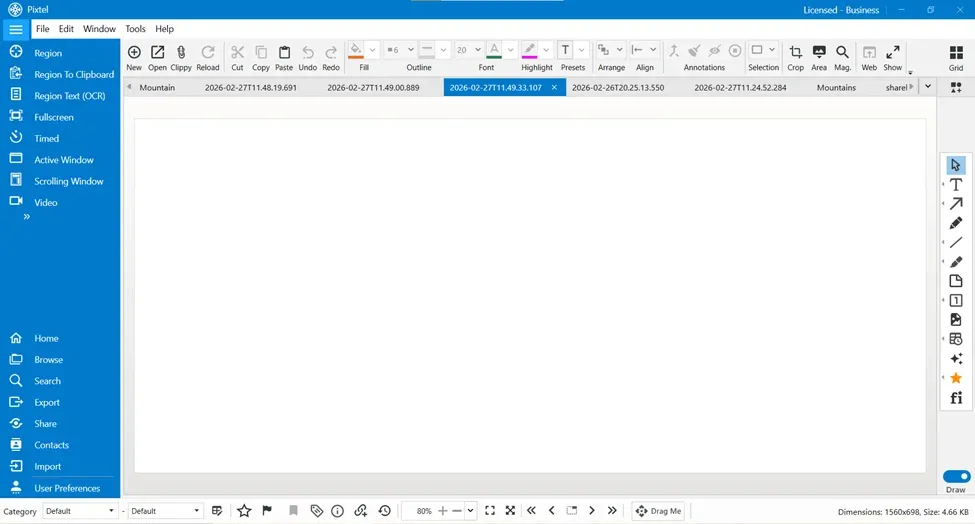
- After clicking Create, the new image opens in a new tab with the current timestamp.

Customizing Default New Image Size (User Preferences)
If you frequently use a specific image size, Pixtel allows you to set it as default.
Here’s how:
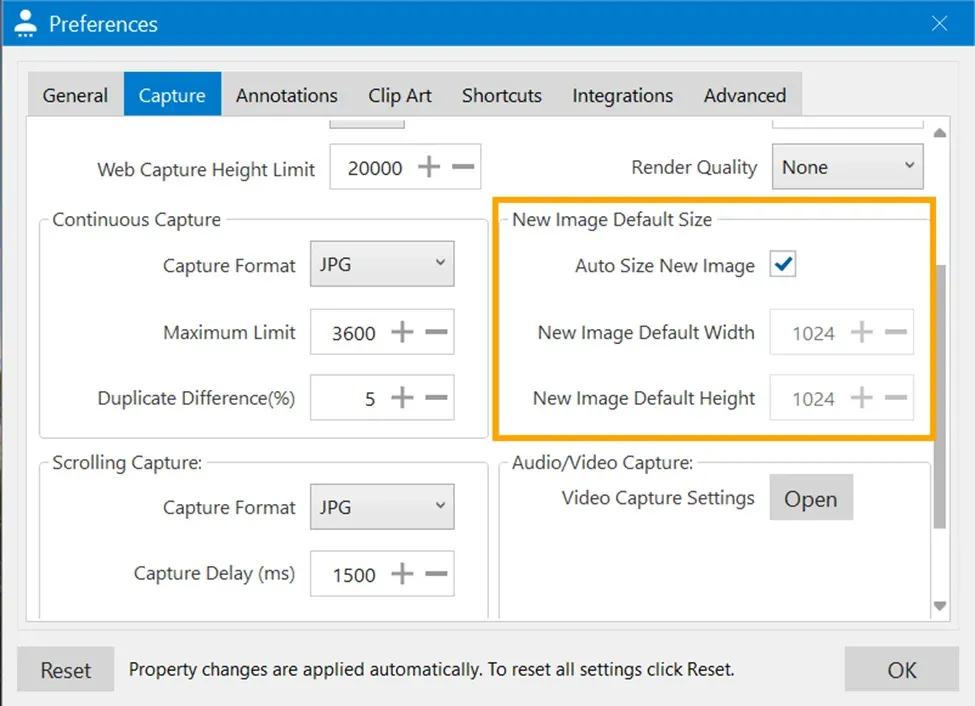
- Go to User Preferences
- Click on Capture
- Locate New Image Default Size
By default:
- If set to Auto, the image size will be 1024 × 1024
If you want a custom size:
- Uncheck Auto
- Enter your preferred Width and Height
- Save the settings
Now, every time you create a new image, it will open with your customized dimensions.
Why Use the New Image Feature?
The New Image feature is useful when:
- You want to design without capturing a screenshot
- You need a clean workspace
- You want to combine multiple imported images
- You are creating documentation or tutorials
- You want to predefine a fixed design size
It turns Pixtel into more than just a screenshot tool — it becomes a lightweight design workspace.
The New Image feature in Pixtel gives you complete creative control. Whether you want to design something from scratch, add annotations, or import images into a fresh canvas, everything can be done in just a few clicks.
With customizable dimensions, background colors, format selection, and default size settings in User Preferences, Pixtel makes image creation simple, flexible, and efficient.
Start using the New Image feature today and unlock more creative possibilities with Pixtel.
Related reading:
- How to Annotate Images in Pixtel →
- Create Stunning Image Layouts with Pixtel Collage & Collate →
- Clip Art / Images in Pixtel: From Capture to Custom Sources →
Capture once and use it forever. It isn’t just a tool — it’s Pixtel.
👉 Download Pixtel · 🎥 Follow us on YouTube · 📘 Read Detailed Documentation
'%3e%3cpath%20d='M6.49988%200.862305L0.380969%206.98121C-0.127315%207.4895%20-0.127315%208.31107%200.380969%208.81936C0.889253%209.32764%201.71083%209.32764%202.21911%208.81936L5.19992%205.83855V15.7C5.19992%2016.4176%205.781%2017%206.49988%2017C7.21875%2017%207.79984%2016.4176%207.79984%2015.7V5.83855L10.7806%208.81936C11.0341%209.07285%2011.3669%209.20024%2011.6997%209.20024C12.0325%209.20024%2012.3653%209.07285%2012.6188%208.81936C13.1271%208.31107%2013.1271%207.4895%2012.6188%206.98121L6.49988%200.862305Z'%20fill='white'/%3e%3c/g%3e%3cdefs%3e%3cclipPath%20id='clip0_1_2'%3e%3crect%20width='13.0002'%20height='16.8995'%20fill='white'%20transform='translate(-0.000244141%200.100533)'/%3e%3c/clipPath%3e%3c/defs%3e%3c/svg%3e)