

Editing & Highlighting Images in Pixtel
A screenshot is rarely just a screenshot. It’s often a way of explaining something — guiding someone through a workflow, pointing out a detail, or protecting sensitive information before sharing. Raw captures, however, tend to be cluttered or unfocused. What matters gets lost in what doesn’t.
This is where Pixtel becomes more than a capture tool. It gives you a simple, controlled space to shape your image — so the viewer sees exactly what you intend them to see.
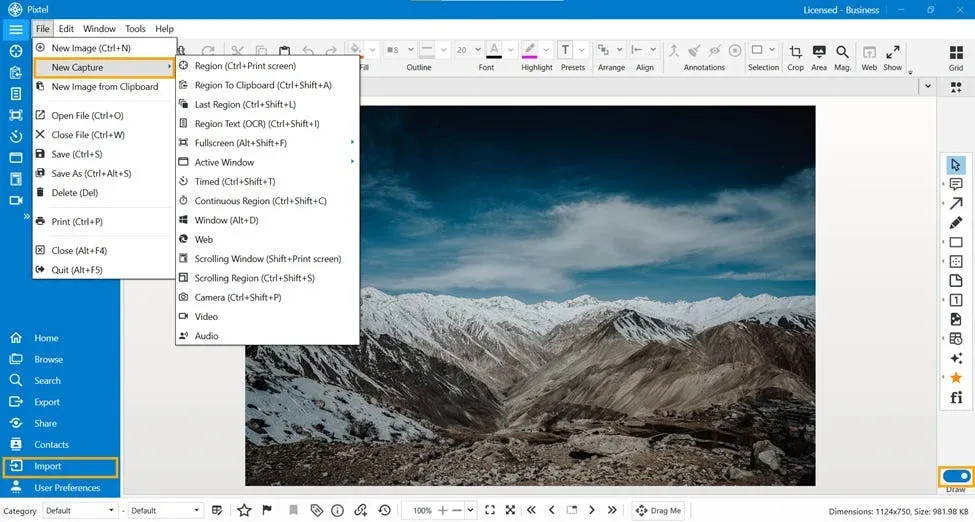
📸 Starting with the Right Image
Every edit begins with an image in your workspace. In Pixtel, you have two straightforward ways to get there:
- Capture a fresh screenshot using Pixtel’s built-in capture options
- Import an existing image from your system
Once the image is loaded, you’re no longer just looking at a static picture — you’re working on a canvas that you can refine.
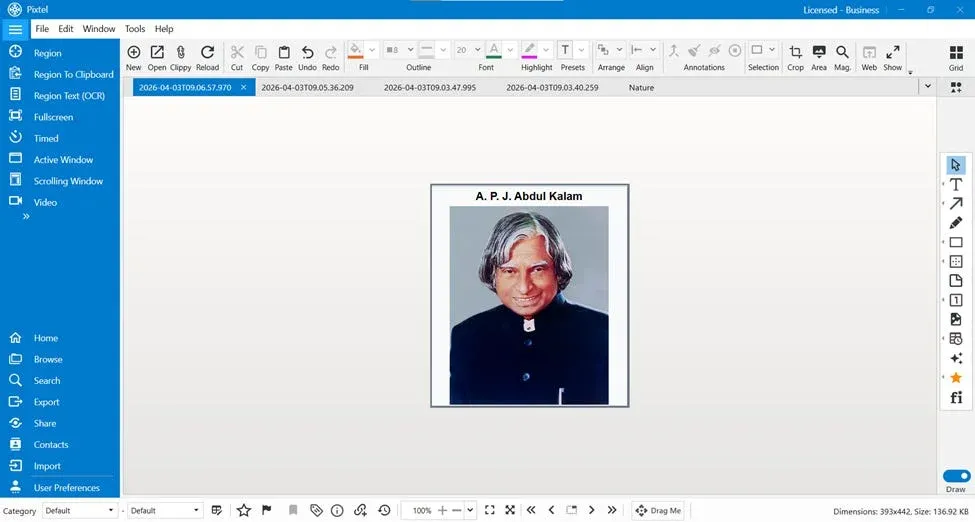
🎨 Entering Draw Mode
The real power of Pixtel reveals itself when you switch to Draw Mode.
Think of Draw Mode as your editing layer. Instead of altering the original image destructively, you’re adding meaning on top of it — highlighting, hiding, shaping, and refining.
When you expand the toolbar in this mode, you’ll find a set of tools designed not for complexity, but for clarity.
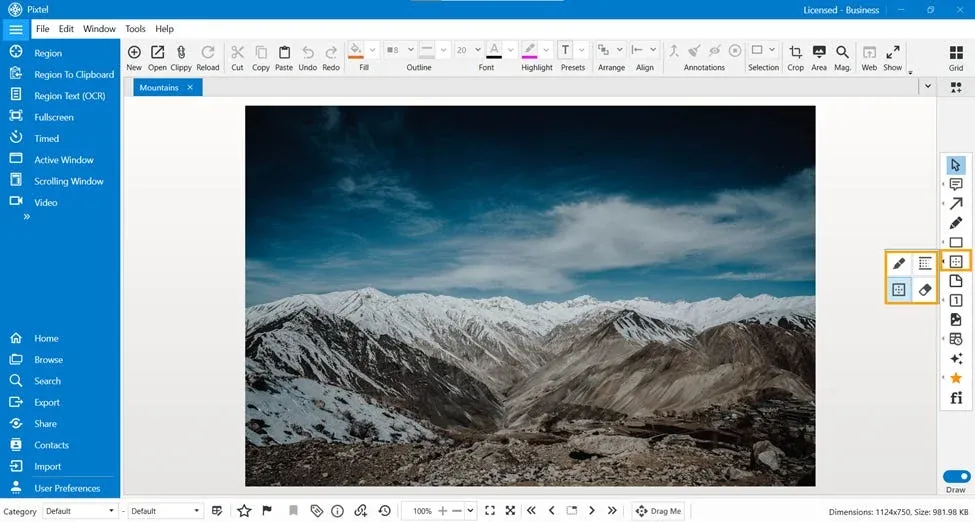
🛠️ Tools That Shape Your Story
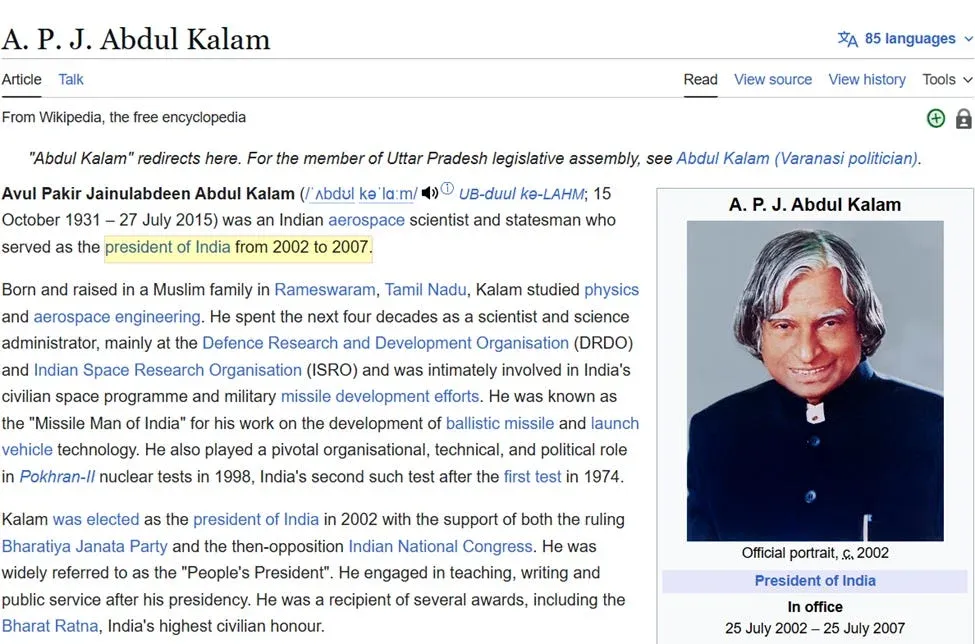
🔲 Rectangle Highlight
Sometimes the simplest gesture is the most effective. Drawing a rectangle around a section tells the viewer, *“look here.”*Use this when you want to emphasize buttons, text fields, or specific regions without overwhelming the image.
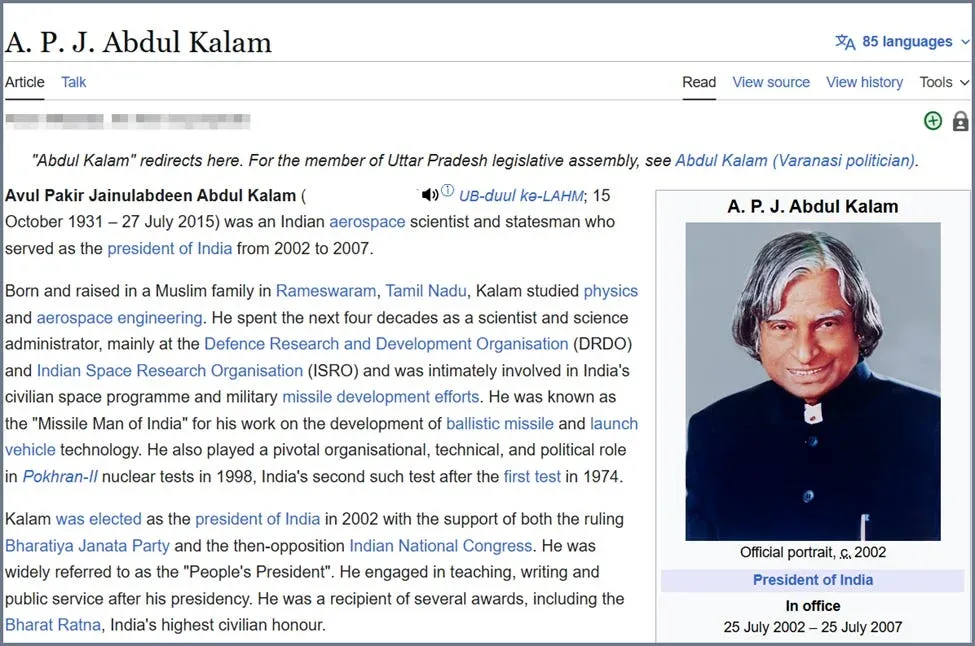
🌫️ Blur Rectangle
Not everything in a screenshot is meant to be shared. Emails, personal details, IDs — these need protection.The blur tool lets you conceal such information cleanly, without breaking the visual flow of the image.
🖼️ Image Border
A border can subtly transform how an image feels. It frames the content, separates it from the background, and adds a sense of completeness.Use borders when you want your screenshot to look more structured and presentation-ready.
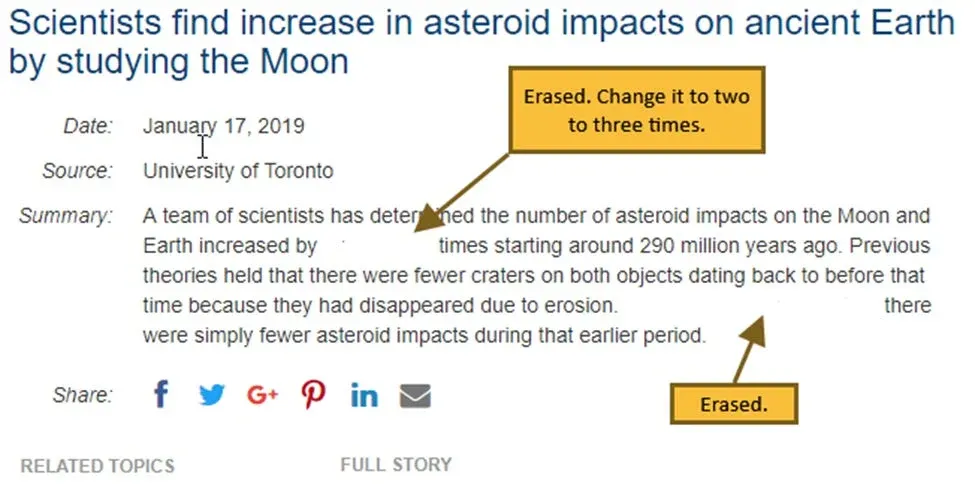
🧽 Eraser Tool
Screenshots often contain noise — elements that distract rather than inform.With the eraser tool, you can remove those unnecessary parts, simplifying the image and sharpening its purpose.
🧭 A Simple Editing Flow
If you’re unsure how to approach editing, a natural sequence often works best:
- Begin by identifying what truly matters in the image
- Highlight that area using a rectangle
- Blur anything that shouldn’t be visible
- Clean up distractions with the eraser
- Add a border if you want a polished, finished look
This isn’t a rulebook — just a gentle structure that keeps your edits purposeful.
🚀 Why This Matters
A well-edited screenshot does more than look good — it communicates better.
Instead of asking the viewer to search for meaning, you present it clearly:
- Attention is guided, not scattered
- Sensitive data is handled responsibly
- The message becomes immediate and easy to understand
In tutorials, documentation, or even quick team updates, this clarity saves time and avoids confusion.
Pixtel keeps image editing deliberately simple, but that simplicity is its strength. You’re not buried under complex features — you’re given just enough control to make your screenshots meaningful.
With a few thoughtful edits, an ordinary capture becomes something sharper, clearer, and far more effective.
Related reading:
- Editing Screenshots in Pixtel: Cut, Copy, Paste, Undo & Redo →
- How to Annotate Images in Pixtel →
- How to Highlight Screenshots Clearly Using Smart Pencil →
Capture once and use it forever. It isn’t just a tool — it’s Pixtel.
👉 Download Pixtel · 🎥 Follow us on YouTube · 📘 Read Detailed Documentation
'%3e%3cpath%20d='M6.49988%200.862305L0.380969%206.98121C-0.127315%207.4895%20-0.127315%208.31107%200.380969%208.81936C0.889253%209.32764%201.71083%209.32764%202.21911%208.81936L5.19992%205.83855V15.7C5.19992%2016.4176%205.781%2017%206.49988%2017C7.21875%2017%207.79984%2016.4176%207.79984%2015.7V5.83855L10.7806%208.81936C11.0341%209.07285%2011.3669%209.20024%2011.6997%209.20024C12.0325%209.20024%2012.3653%209.07285%2012.6188%208.81936C13.1271%208.31107%2013.1271%207.4895%2012.6188%206.98121L6.49988%200.862305Z'%20fill='white'/%3e%3c/g%3e%3cdefs%3e%3cclipPath%20id='clip0_1_2'%3e%3crect%20width='13.0002'%20height='16.8995'%20fill='white'%20transform='translate(-0.000244141%200.100533)'/%3e%3c/clipPath%3e%3c/defs%3e%3c/svg%3e)