

Draw Mode in Pixtel: Adding Timestamps, Stamps, and Clickable Links Made Simple
When working with images, adding context is often just as important as capturing the image itself. Whether it’s recording when the image was created, marking it as approved, or linking it to additional resources, Pixtel’s Draw Mode gives you simple and effective tools to do it all.
Getting Started with Draw Mode
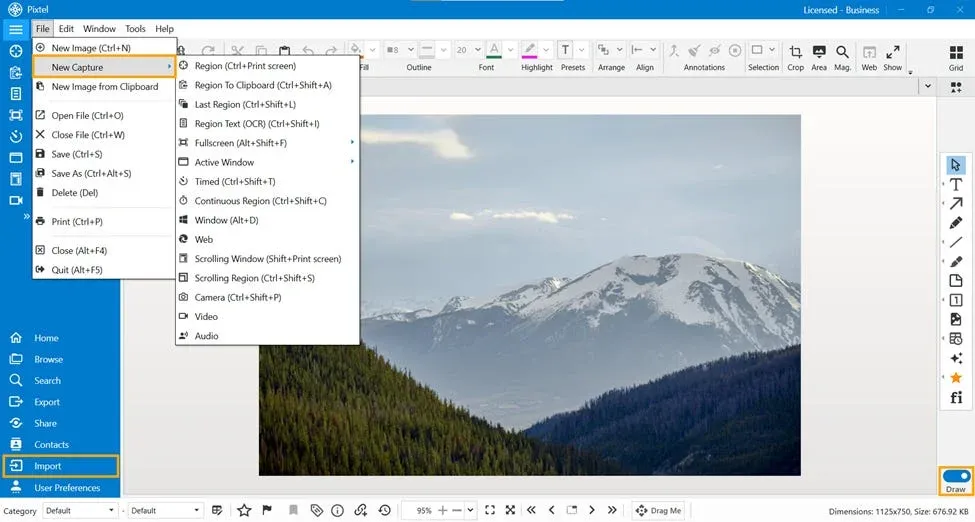
To begin, you can either:
- Capture a new image using the built-in capture tools in Pixtel
- Or import an existing image using the import options
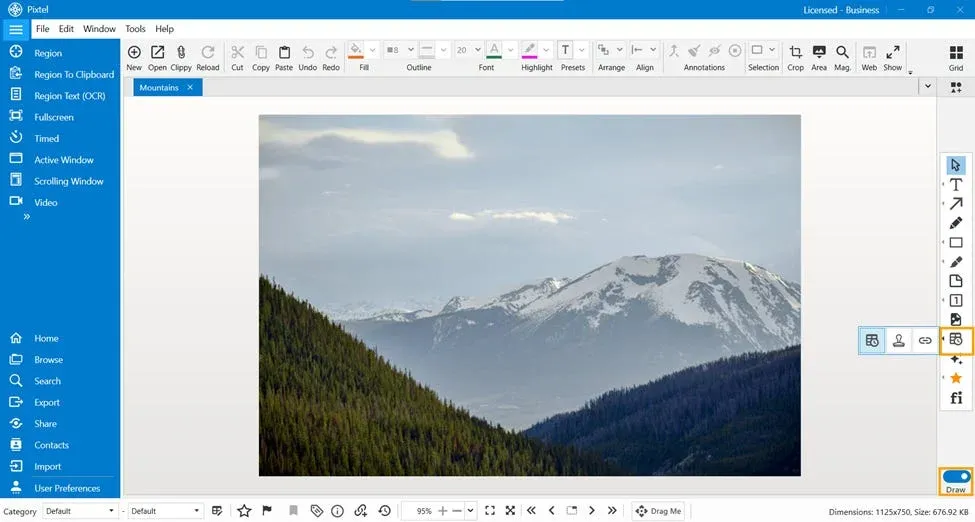
Once your image is ready, switch to Draw Mode and select the Timestamp tool, where multiple annotation options are available.
Understanding Timestamp Options
In Pixtel, Timestamp, Rubber Stamp, and Link annotations are grouped together. These are single-instance annotations, meaning only one of each can be added per image.
Timestamp
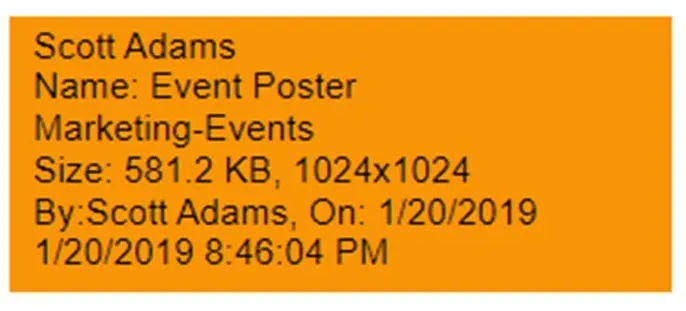
The Timestamp feature allows you to add important image details directly onto the image.
It can include:
- Date and time
- Image name
- Dimensions
- Categories and metadata
The timestamp appears as an editable text box, allowing you to modify it before sharing. This makes it especially useful for documentation and reporting purposes.
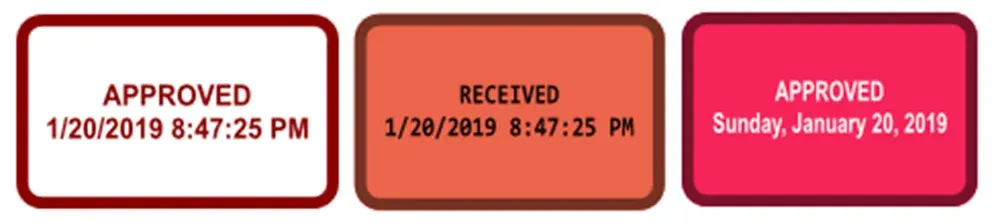
Rubber Stamp
The Rubber Stamp tool helps you quickly label images with predefined or custom text such as:
- Approved
- Rejected
- Reviewed by Username
You can edit the stamp text and customize its template based on your workflow needs.
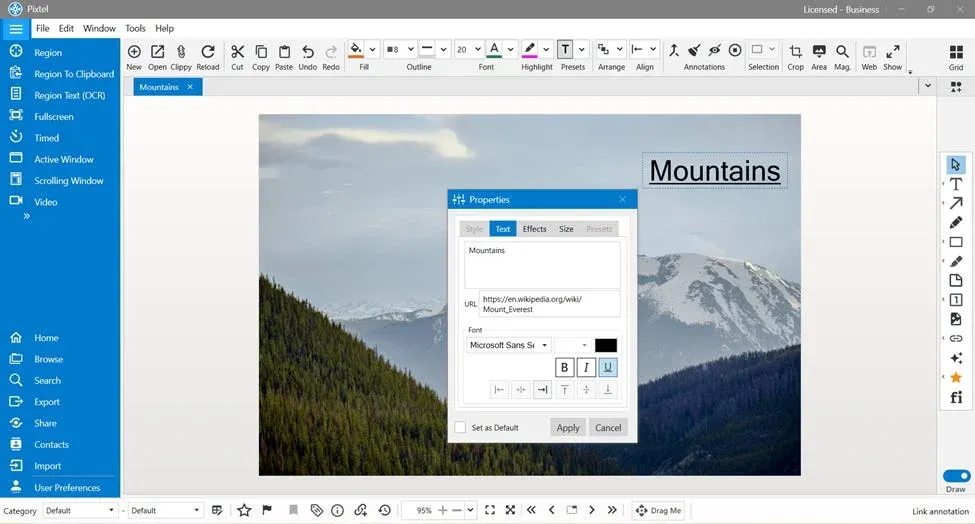
Link Annotation
The Link option allows you to add a URL directly onto the image and make it interactive.
Here’s how it works:
- Add a link annotation to your image
- Double-click on the annotation text to edit it
- Enter or update the URL within the text
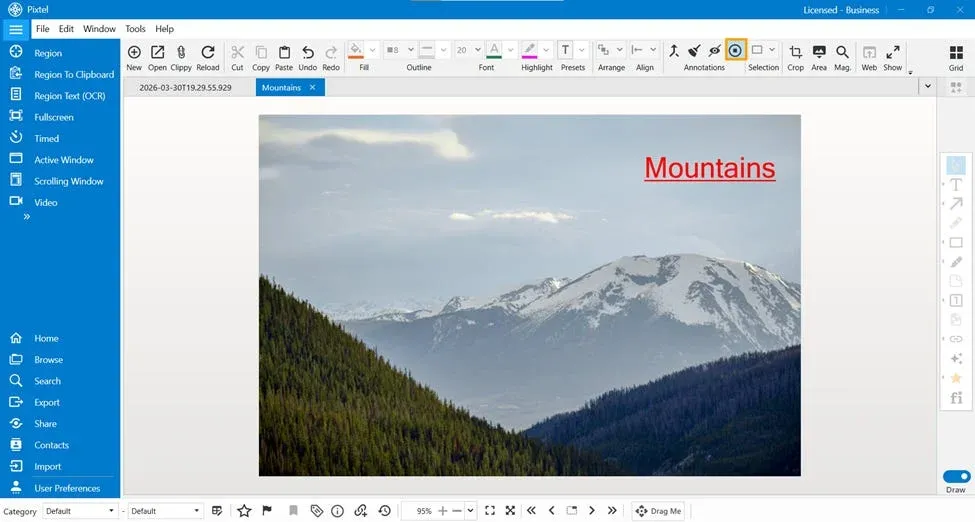
To make the link clickable:
- Go to the Annotations toolbar
- Select View/Edit Annotations
- Apply the changes
Once this is done, the link becomes clickable in view-only mode, opening in a web browser.
This feature is especially useful for:
- Linking documentation
- Providing references

Customizing Timestamp Format in User Preferences
If you want to update how your timestamp appears, Pixtel provides flexible customization options.
You can:
- Change the timestamp format
- Modify the default text template
- Adjust what metadata is displayed
To do this:
- Go to User Preferences in Pixtel
- Navigate to the Annotations tab
- Update the Timestamp settings (such as format and template text)
- Save your changes
Once updated, these settings will automatically reflect whenever you use the Timestamp annotation in Draw Mode.
This allows you to maintain consistency and tailor the information exactly to your needs.

Why Use Timestamp Options?
These tools help make your images:
- More informative
- Easier to understand
- Ready for professional sharing
Instead of explaining details separately, everything is embedded directly within the image.
The Timestamp options in Pixtel are designed to go beyond simple annotations. They help you communicate context, approval status, and external references — all in one place.
With the ability to customize formats and templates, you have full control over how your annotations appear, making your workflow both efficient and professional.
Related reading:
- How to Annotate Images in Pixtel →
- Sticky Notes in Pixtel: Add Quick Reminders to Your Images →
- Ranking and Highlighting Steps in Screenshots Using Pixtel →
Capture once and use it forever. It isn’t just a tool — it’s Pixtel.
👉 Download Pixtel · 🎥 Follow us on YouTube · 📘 Read Detailed Documentation
'%3e%3cpath%20d='M6.49988%200.862305L0.380969%206.98121C-0.127315%207.4895%20-0.127315%208.31107%200.380969%208.81936C0.889253%209.32764%201.71083%209.32764%202.21911%208.81936L5.19992%205.83855V15.7C5.19992%2016.4176%205.781%2017%206.49988%2017C7.21875%2017%207.79984%2016.4176%207.79984%2015.7V5.83855L10.7806%208.81936C11.0341%209.07285%2011.3669%209.20024%2011.6997%209.20024C12.0325%209.20024%2012.3653%209.07285%2012.6188%208.81936C13.1271%208.31107%2013.1271%207.4895%2012.6188%206.98121L6.49988%200.862305Z'%20fill='white'/%3e%3c/g%3e%3cdefs%3e%3cclipPath%20id='clip0_1_2'%3e%3crect%20width='13.0002'%20height='16.8995'%20fill='white'%20transform='translate(-0.000244141%200.100533)'/%3e%3c/clipPath%3e%3c/defs%3e%3c/svg%3e)